

Make your own ice packs at home to save money. Anyone can make an ice pack by following a few simple steps and using the bare minimum of materials.
- Use Corn Syrup
- Use Dish Soap
- Use Rubbing Alcohol and Water
- Use Salt and Water
- Use Wet Sponge
- Use Vodka
- Use Loose Change
- Use a Diaper, Water, & Alcohol
- Use Rice Grains
You may have looked into some treatments if you’re dealing with neck or back pain. The use of hot therapy and cold therapy are two of the most common at-home treatments for these ailments.
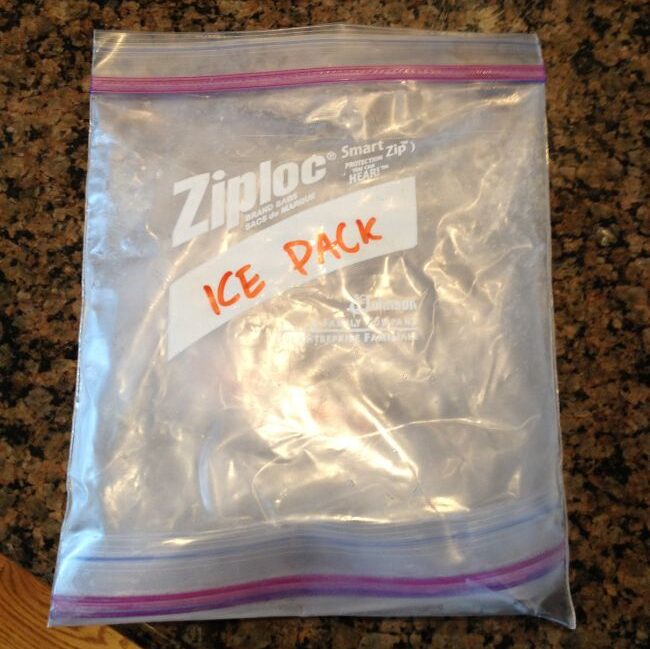
Why not make your own ice pack when you find yourself in need of one? I’ve got five simple techniques you can use to create your own homemade ice packs, all of which only require a few simple household items that can be placed in freezer-safe Ziploc bags.
How to make icepacks at home can be found by scrolling down.
Use Corn Syrup
A great gel-style ice pack is made from corn syrup, like the brand Karo Light Corn Syrup. It does not change in texture or color while being frozen; it remains nice and pliable. Aside from things getting a little sticky, it also doesn’t contain anything harmful if it were to puncture or leak inside a lunch. You can make it with a Ziploc bag of any size.
Simply add some corn syrup, close the bag, and freeze for several hours. I always keep one in the freezer because this is my preferred method for creating homemade ice packs. Because it remains flexible and can be shaped to fit around ankles, knees, wrists, and other sore areas, it is particularly beneficial for injuries.
Use Dish Soap
Dish soap can also be used to create an easy homemade ice pack that will either be firmer and icier or more gel-like and flexible, depending on how long you freeze it for. Since it will still be flexible and pliable (like corn syrup) after only two hours, I prefer to take it out of the freezer again after that.
It will become significantly more icy and firm if you keep the dish soap ice pack in the freezer for more than a few hours. Consequently, depending on the type of ice pack you want, the timing of this method is more crucial.
In either case, it’s a straightforward procedure that can be made in any size Ziploc bag by simply adding dish soap. There is no need for measuring. Other brands of dish soap ought to work to create an ice pack as well; I’ve tried this technique with both Dawn and Ajax dish soap, and both of those brands performed admirably.
Use Rubbing Alcohol and Water
This is the quickest and simplest method for creating a homemade ice pack. In a ziplock freezer bag, combine rubbing alcohol and water in equal parts. Squeeze out as much air as you can. Once frozen, zip it up and place it in your freezer.
The rubbing alcohol will stop the water from freezing solid, making it malleable enough to mold to any injured area.
Sometimes you can also find Green Colored Wintergreen Rubbing Alcohol, which gives the ice pack a little bit of color. I simply cut the recipe in half, mixing ¾ cup of water with ¼ cup of rubbing alcohol and made this version in the smaller snack-size Ziploc bags.
Use Salt and Water
A ziplock bag, 2 cups of water, and 2 tablespoons of salt are required. Two cups of water should be added with two tablespoons of salt, then the salt should dissolve. In a ziplock bag, pour this solution, and then freeze it for a few hours. This pack can be applied to the afflicted area every day.
Use Wet Sponge
One of the simplest methods for creating your own ice packs is to soak a clean sponge in cold water, let the excess water drip off, and then put the sponge inside a plastic bag with a zip-top or vacuum seal. Overnight storage in the freezer is accomplished by first removing the bag’s excess air.
Leigh Vinocur, MD, a Baltimore, Maryland-based emergency physician and national spokesperson for the American College of Emergency Physicians (ACEP), claims that the outcome is a simple, drip-free DIY ice pack ideal for lunches.
Use Vodka
Similar to how a shot of vodka numbs the pain, homemade ice packs also work to relieve it. Alcohol alters water’s freezing point, preventing it from solidifying into a block of ice in conventional freezers. So, combine water and vodka for a versatile form of cold first aid.
An at-home slushy version of ice can be made by pouring the right amounts of water and vodka into a sealed plastic bag. The mixture will maintain its cold temperature and quickly relieve your burn, sore muscles, or stinging insect bite.
Use Loose Change
Do you have a lot of extra change in your piggy bank? Consider storing it in the freezer for your subsequent injury or ache before turning it into cash.
Metal works well at retaining cold temperatures, so when you need an ice pack in a hurry and don’t want to “spend” a dime, toss your change into the freezer inside a ziplock bag and give it a few hours.
Use a Diaper, Water, & Alcohol
As ridiculous as it may sound, diapers are a great cold compress and relatively inexpensive (unless you already have young children living in your home).
Pick up a clean diaper and fill it half full of alcohol and half full of water. Once the diaper is frozen, the alcohol will maintain the additional water’s gel-like consistency. After placing the extremely wet diaper in your freezer for a few hours, you can relax and enjoy the soothing coolness.
The advantages are superior to those of the majority of ice packs because they won’t leak and you can easily wrap them around your fingers or joints. Since diapers are designed to hold a surprising amount of liquid.
Use Rice Grains
But when you have aches and pains, water isn’t your only option for getting completely cool and cold. It’s great to use rice grains. Rice (obviously), a freezer, and a sealable plastic bag (or possibly a bag made from fabric) is all you need to make your own rice ice pack.
I think it’s a lot better than using a bag of frozen peas. Additionally, because rice is excellent at retaining heat, it can be used as a homemade heating pad.
Conclusion: Make An Ice Pack at Home!
If there is an injury, swelling, or sprain, we always reach for an ice pack. Furthermore, if you lead an active lifestyle, it is quite common to keep ice packs on hand. However, you can quickly make homemade icepacks rather than purchasing them.
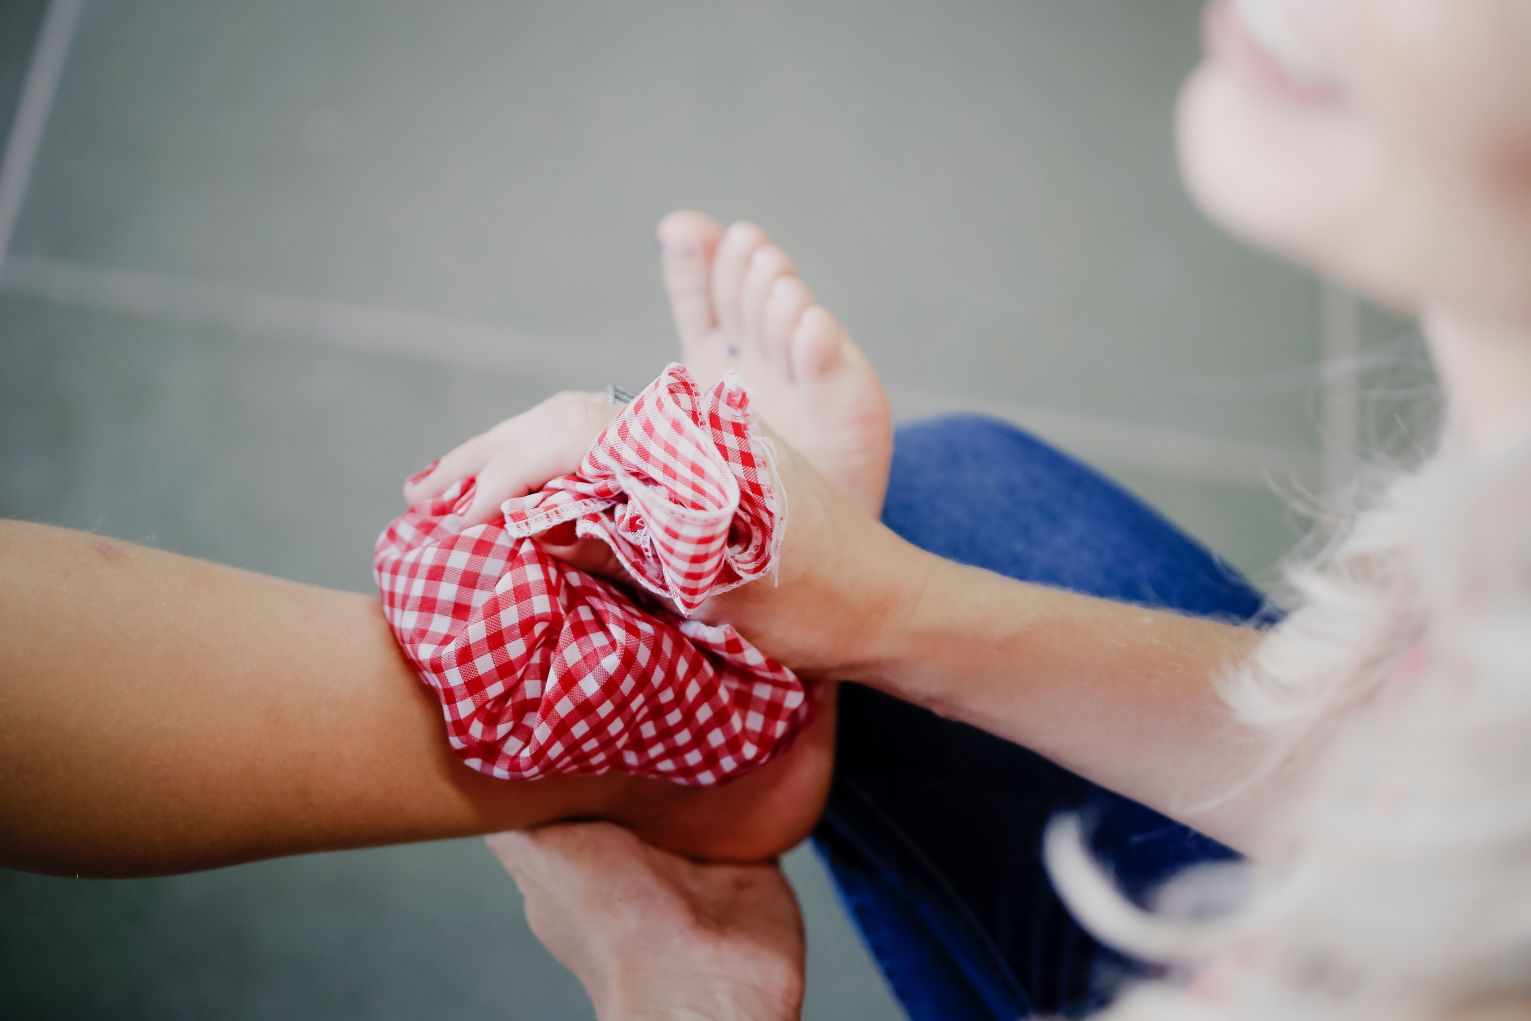
You can keep your lunches cool and your aches at bay with these homemade, doctor-recommended ice packs. Your child now has their very own (call it what you will) boo-boo better bag!
FAQs
How Long Do Gel Ice Packs Take to Freeze?
Normal freezing times for ice packs are 1-2 hours.
How Long Do Gel Ice Packs Last?
A gel ice pack can keep its temperature at room temperature or while in use for 3–4 hours.
How Are Gel Packs Better Than Ice?
The physical properties of a gel pack make it preferable to a solid ice pack, which is one of the main reasons. Unlike gel packs, which are much more flexible and softer, ice packs are extremely rigid and may be painful to the injured area.