

If you want to learn how to cold crashing beer while home brewing, keep reading! We’ll walk you through every step of the procedure and explain how to achieve fantastic results.
A time-tested method for producing beer that is crystal clear more quickly is cold crashing. Before bottling or kegging, it’s a good idea to make sure sediment and yeast that have been suspended in the beer have fallen out and settled at the bottom of the fermenter.
Here’s how to do it.
How to Cold Crashing Beer?
Put your fermenter right inside a refrigerator or freezer to get the beer as cold as you can without actually freezing it. For 24-48 hours, aim for a temperature of around 32-35 °F. Take out and carry out kegging or bottling. Don’t worry, there will be enough yeast left over after the crash to naturally carbonate your beer.
Further Reading:
- Can Beer Go From Cold To Warm Back To Cold?
- Can I Put Ice Cubes In Beer?
- How Long For Beer To Get Cold In Freezer?
You can actually cold crash right into the keg in your kegerator if you keg your beer. The only drawback is that you won’t have the chance to filter out any yeast or sediment before kegging (which will accumulate in the bottom of the keg and pose a clog risk).
Cold crashing your beer before kegging also guarantees that it is extremely chilled and prepared to immediately absorb CO2 for forced carbonation.
How to Avoid Oxidation While Cold Crashing?
When your beer’s temperature in the fermenter drops sharply, it creates a vacuum that actually draws air and oxygen into the fermenter. Of course, oxygen is a beer killer and will ruin the delicate flavors and aromas in your brew.
In addition to preventing oxygen suck-back, a sealed vessel acts like a vacuum sealer and, in the most extreme situations, runs the risk of collapsing your fermenter. The pressure drop caused by sealing off and pressurizing your fermenting vessel (likely a conical or keg) with 5-7 PSI of CO2 would be one way to prevent this.
If you ferment in a non-pressurizable vessel (bucket or carboy), you can attach a CO2-filled mylar balloon to your airlock so any suck-back is replaced with CO2 instead of oxygen.
How to Cold Crash With No Fridge?
if you don’t have access to a spare refrigerator. (You can either put the fermenter in an ice bath or wrap it in cold towels that have been dipped in water (God knows my wife would kill me if I tried to stuff my fermenter in our fridge).
Keep checking, and periodically refresh the towels with ice water. An excellent alternative for cold crashing is a cheap 20-gallon plastic basket, which I used to use to cool hot wort in the kettle.
When Do You Cold Crash?
Similar to adding cask finings, cold crashing is done after the beer has fermented but before it is bottled. Simply lowering the beer’s temperature quickly completes the process. This makes the liquid clear by causing the suspended materials to coagulate and settle.
Aim for two to three days before you want to bottle your beer to cold crash it. By doing so, you’ll give the procedure plenty of time to complete its task and keep debris out of the bottles.

Also, wait until fermentation is finished before beginning. Before beginning the cold crash, use a hydrometer to check the beer’s final gravity to make sure it is stable.
Some brewers advise waiting to start the process for at least a week after brewing. That gives the yeast that remains in suspension time to clean up any “off” flavors that have developed during fermentation.
How Long Does It Take?
How cold you can make your beer will play a role in how long it takes you to cold crash.
If you can keep it cold, you can finish the process in about 24 hours. It might take closer to three days if you’re using a cooler, though.
Examining your beer will allow you to determine when it is ready. However, if it’s not entirely clear when you believe it ought to be, don’t worry. After being bottled, the beer will continue to clear.
Additionally, you should leave some yeast in suspension in your bottles if you plan to condition them in order to carbonate the beer. The sugar in your conditioning tablets will feed that yeast, which will then produce bubbles.
But there’s no need to worry about whether your cold crashing was excessive. Regardless of how long you let it sit, some yeast will almost certainly still be in suspension. If your beer is being bottled, a longer cold crashing period simply means that the carbonation process may take longer.
Once your beer is bottled, simply leave it at room temperature for two to three weeks. That will allow the bubbles to form.
However, dry yeast can be added when bottling beer if you need it to become fizzy quickly. Yeast cultures are used in products like LalBrew CBC-1 to hasten the carbonation process.
What is Cold Crashing?
After the fermentation process is finished, you can cold crash your beer by lowering the temperature to just below freezing. Just before kegging or bottling, you should finish it last. Be sure fermentation and conditioning are entirely wrapped up before crashing.
After the fermentation is finished, you want to give the yeast enough time to clean up. After pitching, I usually wait 10 to 12 days.
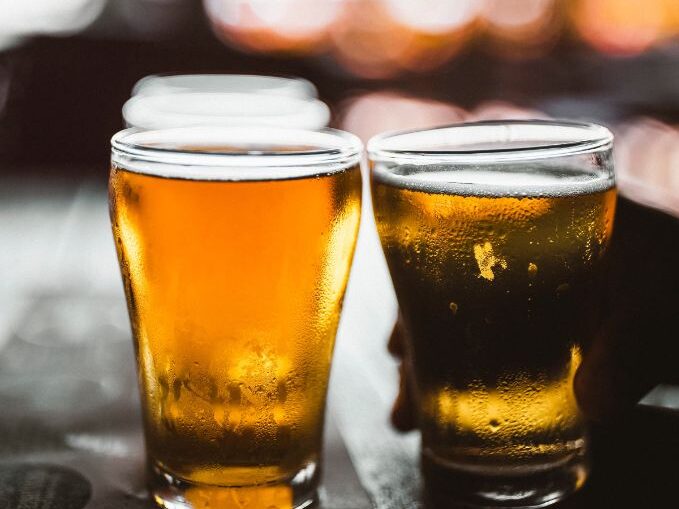
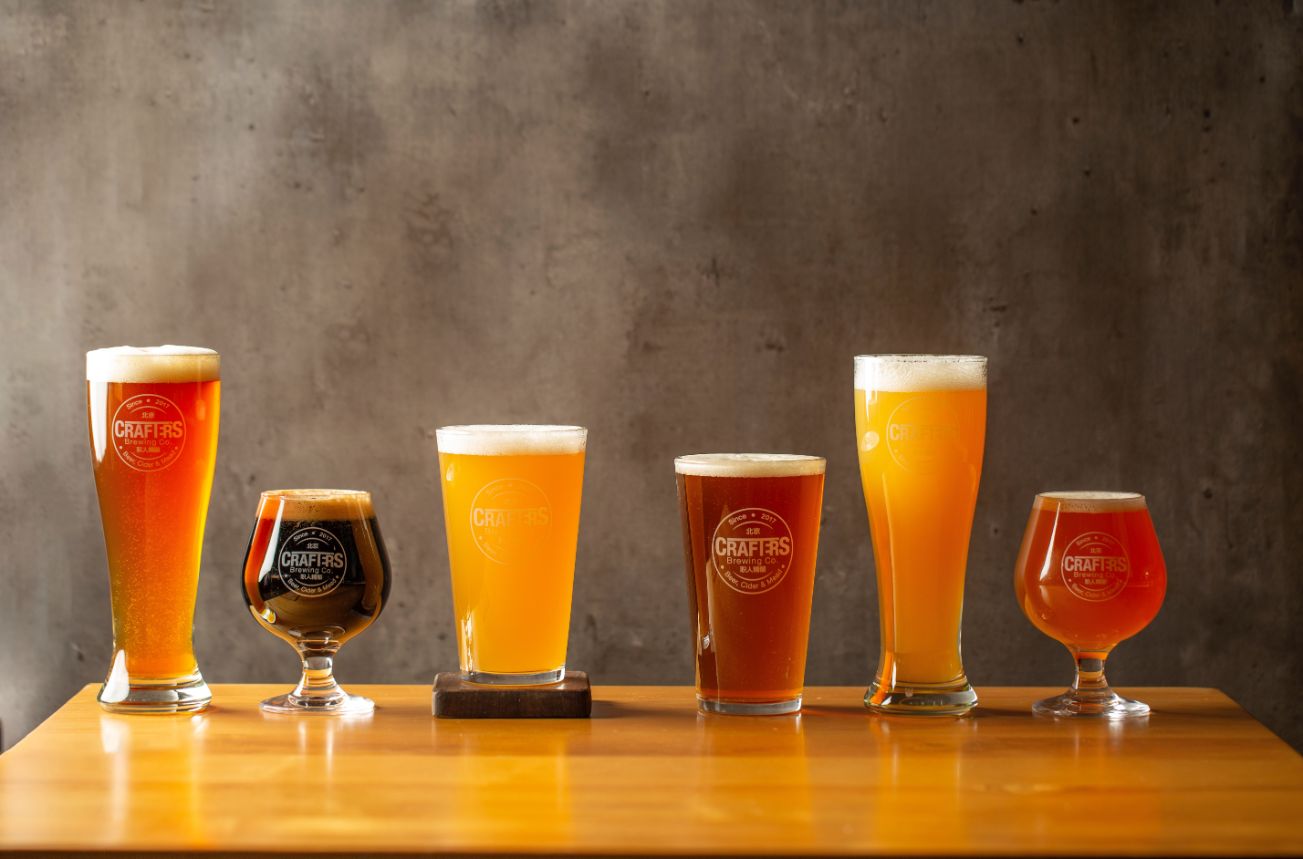
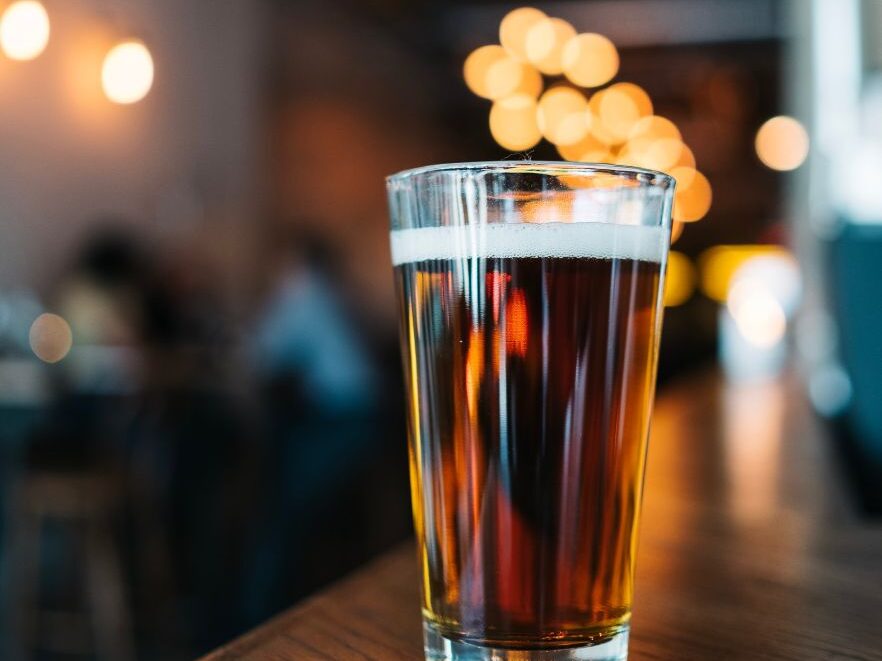
How Clear Will My Beer Be?
When packaging beer, crystal clearness is not the intended outcome. But the objective is to transfer the nearly clear beer. You’ll need to let it sit in the keg or bottle longer for it to clear up and become truly bright.
If you’re not kegging, you shouldn’t cold crash your beer to the point where it becomes brilliantly clear. For proper carbonation, keep in mind that you must add some yeast to your bottles. You need some of that yeast on hand to finish the job of eating the priming sugar.
How Effective is Cold Crashing?
Simply put, very efficient. But it depends (as it always does) on a few things. One major one is yeast strain. Keep in mind that when you chill your beer while cold crashing, you’re essentially hastening the precipitation process.
Therefore, it makes sense that some yeast strains with a high flocculant capacity (drop out of solution quickly) will floc more quickly after cold crashing. Furthermore, the inverse is accurate. It will take longer if the yeast has low flocculation.
Final Thoughts: Enjoy Bright Beer!
Cold crashing is a fantastic way to enhance your homebrew and is an efficient way to help drop the gunk out. However, keep in mind that you must take precautions to prevent the vacuum effect that cold crashing creates from causing cold-side oxidation.
We sincerely hope you’ve enjoyed reading our tips for cold-crashing your beer. A cloudy beer can become the clear, pure amber nectar of your dreams with this straightforward procedure!